ss5 项目主页:http://ss5.sourceforge.net/,下载地址:https://sourceforge.net/projects/ss5/files/。
先下载下来源码包,解压:
|
1 2 |
tar -zxvf ss5-3.8.9-8.tar.gz cd ss5-3.8.9 |
安装依赖项:
|
1 2 3 4 5 6 7 |
yum install epel-release yum update -y yum groupinstall 'Development Tools' -y yum install gcc automake autoconf libtool make yum-utils wget -y yum install pam-devel openldap-devel openssl-devel -y |
编译程序并安装:
|
1 2 |
./configure make && make install |
make 的时候如果报下面的错误,说明是 gcc 版本太高了导致,需要使用低版本的 (gcc4) 来编译:
|
1 2 3 4 5 6 7 8 9 10 |
ss5-3.8.9/src/SS5Core.c:839: undefined reference to `S5DebugUdpRequestInfo' ss5-3.8.9/src/SS5Core.c:842: undefined reference to `S5ChildClose' ss5-3.8.9/src/SS5Core.c:843: undefined reference to `S5ChildClose' ss5-3.8.9/src/SS5Core.c:866: undefined reference to `S5ChildClose' ss5-3.8.9/src/SS5Core.c:759: undefined reference to `S5DebugUpstreamInfo' ss5-3.8.9/src/SS5Core.c:397: undefined reference to `S5ChildClose' collect2: error: ld returned 1 exit status make[1]: *** [ss5] Error 1 make[1]: Leaving directory `ss5-3.8.9/src' make: *** [src] Error 2 |
安装完成后,默认的配置文件在
/etc/opt/ss5/ss5.conf,日志文件在/var/log/ss5/ss5.log。
修改配置文件,去掉下面两行的注释:
|
1 2 |
auth 0.0.0.0/0 - - permit - 0.0.0.0/0 - 0.0.0.0/0 - - - - - |
这两行是认证相关的参数,去掉注释表示使用默认的认证参数 (不需要认证并允许所有 IP 代理) 。 ss5 程序支持多种认证方式,包括密码认证以及 ldap 认证等,这里测试使用不需要认证。
服务默认监听 1080 端口,启动服务的办法:
|
1 |
ss5 -t -u root |
参数说明:
-t: 使用多线程模式-u: 指定启动用户-p: 指定 pid 文件路径
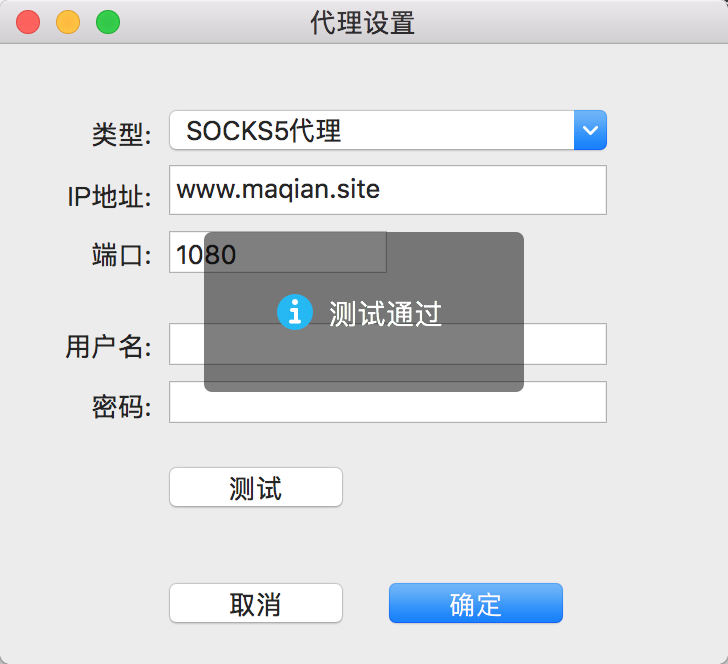
测试代理是否成功:

加入 systemd 服务
配置文件:
|
1 2 3 4 5 6 7 8 9 10 11 |
[Unit] Description=SS5 Socks Proxy After=syslog.target network.target nss-lookup.target [Service] Type=forking PIDFile=/var/run/ss5.pid ExecStart=/sbin/ss5 -p /var/run/ss5.pid -u root [Install] WantedBy=multi-user.target |
参考